On my latest blog post, I wrote about lightening up my home. It was so dark…dark, leather sofa, stained wood furniture, etc. You can go back and read that post here. Since I couldn’t afford to change up everything in my house at once, I tried to add some touches that would lighten up a few things quickly while trying to stay within a budget. Even with some lighter colored decor, it just wasn’t enough. What’s a girl to do? It was chalk paint to the rescue! The first piece that I used to practice on was the frame pictured above. I also redid some black candlesticks and by this point, I decided I was ready to move on to something bigger and better. (You can read all about my first projects here.)
Chalk paint project #2
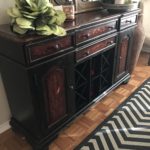
I decided that I could make a big impact in my dining room by using chalk paint on my buffet. It was a beautiful piece of furniture. This is what it looked like:
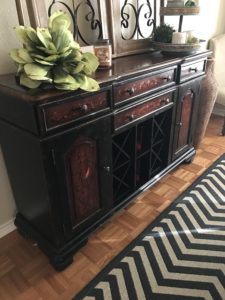
Original buffet
To make this a little more “interesting”, my husband thinks it is terrible to paint good wood. He would NEVER want to cover up a piece of pretty, stained wood with paint. How was I going to get this project done without him finding out? Well, I waited until he went on a fishing trip of course! After all, if I messed it up, he wouldn’t be back in town for 3-4 days so it gave me time to correct anything that needed correcting!
Time to Get To Work
Back to the project…as soon as Darren pulled out of the driveway to go on his fishing trip, I got out my chalk paint supplies and went to work. I put cardboard under the piece of furniture to protect the floor and then I wiped down the buffet with a damp cloth (don’t use any oily cleaning product because the paint might not stick). After that, I began to slap on the paint.
YouTube
I would highly recommend you watch a few youtube videos before your first project. This is the video that I watched. Several people have asked me about what kind of paint brush to use. I didn’t buy anything special to apply the chalk paint. Honestly, you just slap it on. You don’t need anything special. After the first coat, you will see brush strokes and some of your original paint will bleed through. It is OK. Let the first coat dry (it takes about 5 minutes, honestly) and when you apply the 2nd coat, you won’t see any brush strokes. This is what it looked like after paint:

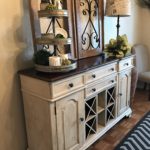
After chalk paint was applied
Wax on, Wax off
In my opinion, the hardest part (which still is super easy) is adding the wax finish. After the paint had dried for a few hours, all I did was apply the wax with the Annie Sloan wax brush. I was encouraged to go ahead and purchase the brush and I’m glad that I did. The wax is more important than the paint because it is the final touch to your piece.
I put a spoonful of clear wax onto a paper plate and then added a small dab of dark wax. Next, I rubbed my brush around in it and started applying the wax using a circular motion. I just took a section at a time. When I finished a section, I would go back over and rub in the wax with an old t-shirt. I went over the entire piece of furniture that way. If I felt like I got it too dark in one area, I would just go over that part with the t-shirt to remove some of the wax.
Just do it
If you leave too much wax on the furniture, it will be sticky. You don’t want that. You want to be able to slide your hand on the furniture and it feel smooth. Don’t overthink it….just do it! When you step back, it really is a beautiful finish.

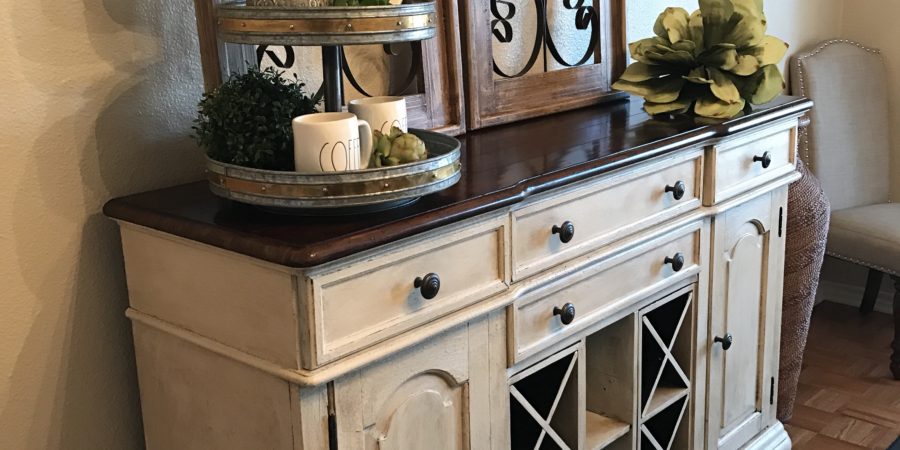
After wax was applied
I do need to let you know that I didn’t touch the top of the buffet. It was already a beautifully stained top and I wanted to leave it that way. All in all, it took me about 3 hours from start to finish. I was very pleased with how it turned out and I felt like I had a brand new buffet! Plus, I didn’t think Darren would kill me when he got home from his fishing trip because it actually turned out so pretty! Win, win for everyone!
I haven’t done another chalk paint project since then, but I have plans to do a few more. I’m just waiting for Darren to go fishing….(I’ll keep you posted!)
Be Blessed,

